Master The Art Of Building Your Own Homemade Gravel Drag
Creating a homemade gravel drag can transform your driveway or yard into a smooth, professional-looking surface without breaking the bank. Whether you're a DIY enthusiast or a homeowner looking for cost-effective solutions, learning how to construct a gravel drag is an invaluable skill. This comprehensive guide dives deep into the process, offering step-by-step instructions, expert tips, and insights to help you achieve professional results. By the end of this article, you'll have all the knowledge you need to tackle this project with confidence.
Gravel driveways are a popular choice for their durability and aesthetic appeal, but maintaining them can be challenging. Over time, gravel can become uneven, creating unsightly ruts and potholes. A gravel drag is the perfect tool to level and compact gravel, ensuring it remains smooth and even. With the right materials and techniques, building your own homemade gravel drag is easier than you might think. This article will walk you through every step of the process, ensuring you get the best results possible.
From selecting the right materials to assembling your drag, we'll cover everything you need to know. Whether you're working with a small garden path or a long driveway, the principles remain the same. By investing time and effort into constructing your homemade gravel drag, you'll not only save money but also gain satisfaction from completing a rewarding DIY project. Let's dive in and explore how you can create a durable, effective gravel drag that will last for years.
Read also:Jadyn Wong Spouse Everything You Need To Know About Her Personal Life And Career
What Is a Homemade Gravel Drag?
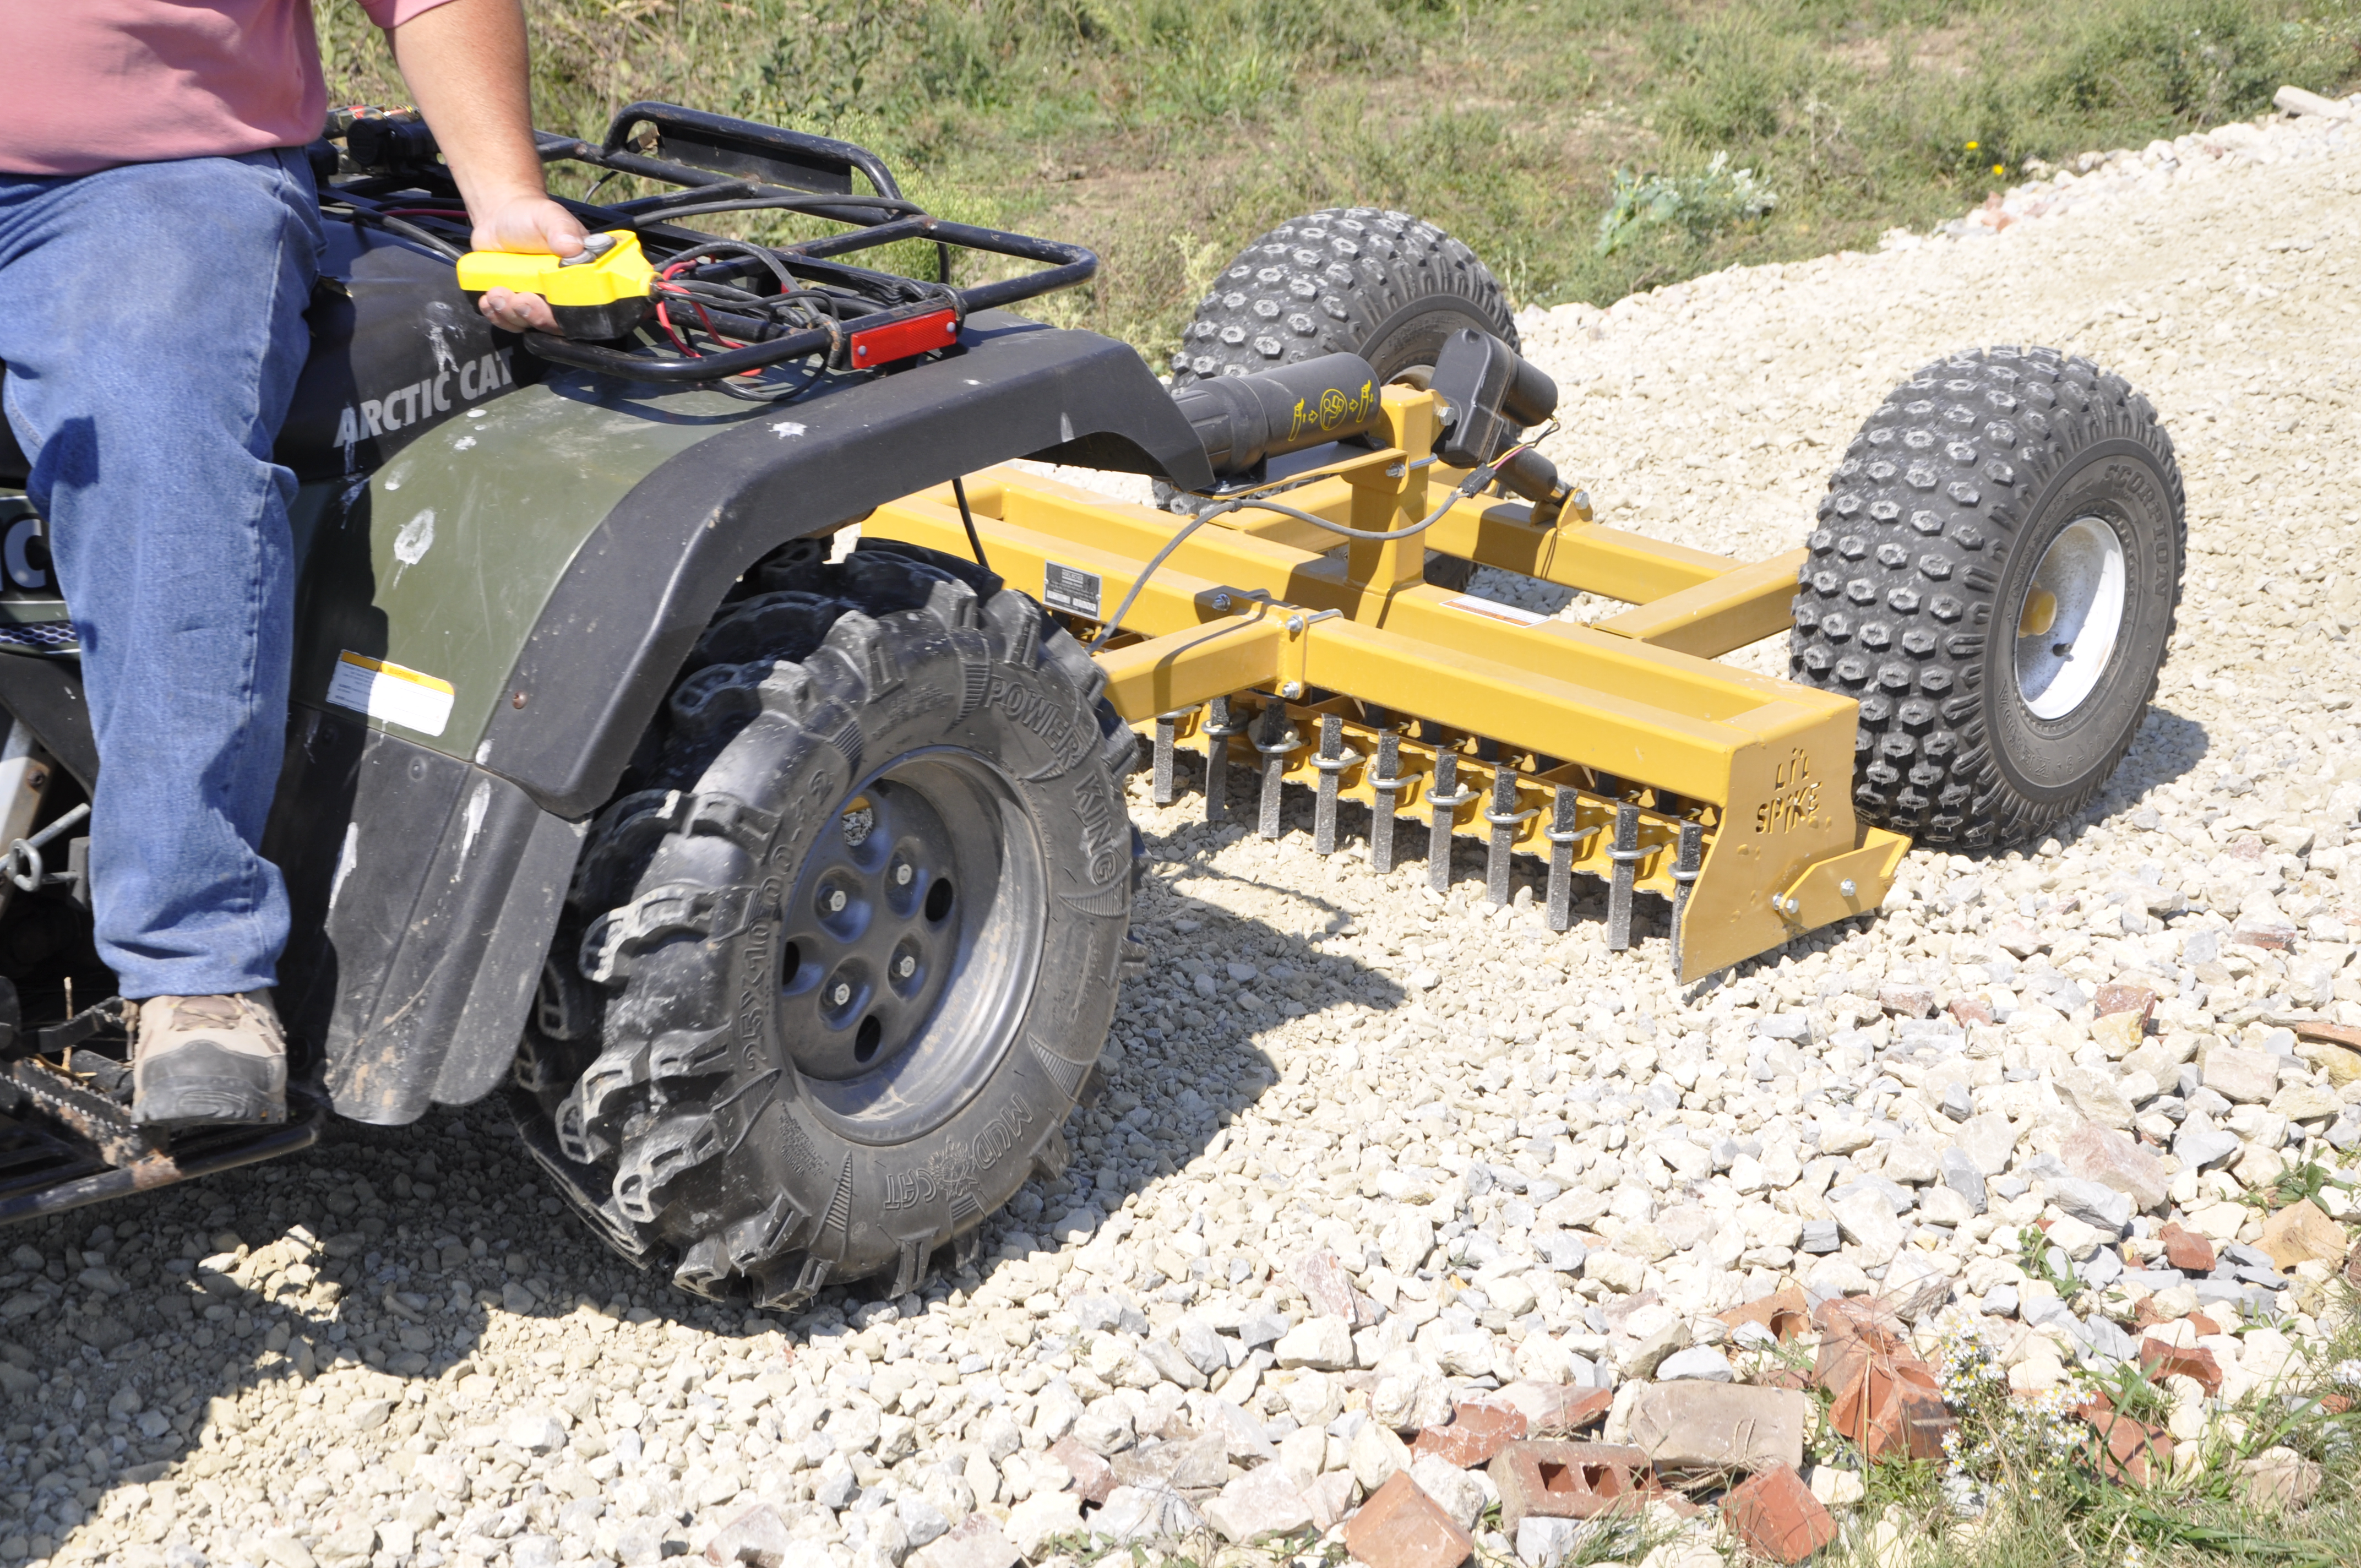
A homemade gravel drag is a DIY tool designed to level and smooth out gravel surfaces. It typically consists of a metal frame with a mesh or chain-link bottom, attached to a vehicle like a tractor or ATV. By dragging it across the gravel, you can evenly distribute the material, filling in low spots and removing ruts. This process not only improves the appearance of your driveway but also enhances its longevity by preventing water pooling and erosion.
Building your own gravel drag offers several advantages. First, it's significantly more affordable than purchasing a commercial-grade drag. Second, it allows you to customize the design to suit your specific needs. For example, you can adjust the size and weight of the drag to match the scale of your project. Lastly, constructing a homemade gravel drag is a fulfilling DIY activity that teaches valuable skills and provides a sense of accomplishment.
Why Should You Build a Homemade Gravel Drag?
There are numerous reasons to consider building your own gravel drag. One of the most compelling is cost-effectiveness. Commercial drags can be expensive, especially if you only need one occasionally. By constructing your own, you eliminate the need for costly purchases or rentals. Additionally, a homemade gravel drag can be tailored to your specific requirements, ensuring optimal performance for your property.
Another advantage is the educational aspect. Building a drag from scratch teaches valuable skills such as metalworking, welding, and basic engineering principles. These skills can be applied to other DIY projects, expanding your capabilities and confidence. Finally, there's the satisfaction of knowing you've created a tool that will benefit your property for years to come. Whether you're a seasoned DIYer or a beginner, this project offers something for everyone.
How Does a Homemade Gravel Drag Work?
The functionality of a homemade gravel drag is straightforward yet effective. As the drag is pulled across a gravel surface, the mesh or chain-link bottom sifts and levels the material, filling in low spots and smoothing out uneven areas. The weight of the drag helps compact the gravel, creating a stable and uniform surface. This process not only enhances the appearance of your driveway or yard but also improves its functionality by reducing water pooling and erosion.
To maximize the effectiveness of your homemade gravel drag, it's essential to choose the right materials and design. Factors such as the size of the drag, the type of mesh or chain-link used, and the weight distribution all play a role in its performance. By carefully considering these elements, you can create a drag that meets your specific needs and delivers professional-quality results.
Read also:Patient First Hampton Va Your Ultimate Guide To Quality Healthcare
Can You Build a Homemade Gravel Drag Without Welding Skills?
Many people assume that building a homemade gravel drag requires advanced welding skills, but this isn't necessarily true. While welding can simplify the process, there are alternative methods for constructing a drag without a welder. For example, you can use bolted connections or hardware-store brackets to assemble the frame. This approach may take slightly longer, but it's an excellent option for those without welding experience.
In addition to bolted connections, you can explore other creative solutions, such as using pre-fabricated metal components or purchasing a partially assembled frame. These options allow you to focus on the design and functionality of your drag without worrying about complex welding techniques. With a little creativity and resourcefulness, anyone can build a homemade gravel drag, regardless of their skill level.
What Materials Do You Need for a Homemade Gravel Drag?
When building a homemade gravel drag, selecting the right materials is crucial for ensuring durability and performance. The primary components include a sturdy metal frame, mesh or chain-link for the bottom, and attachment points for connecting the drag to a vehicle. For the frame, steel tubing or angle iron are popular choices due to their strength and ease of use. The mesh or chain-link should be heavy-duty to withstand repeated use and resist wear.
Additional materials may include bolts, nuts, washers, and brackets for assembling the drag. If you're incorporating a weight system, consider using concrete blocks or steel plates to add stability. It's also important to choose materials that are resistant to rust and corrosion, as your drag will be exposed to the elements. By carefully selecting high-quality materials, you'll ensure your homemade gravel drag remains effective and reliable for years to come.
Is It Difficult to Assemble a Homemade Gravel Drag?
Assembling a homemade gravel drag is a manageable task, even for beginners. With the right tools and instructions, most people can complete the project in a weekend. The key is to approach the process systematically, starting with the frame and working your way through each component. Begin by cutting and shaping the metal pieces according to your design, then assemble the frame using bolts or welding.
Once the frame is complete, attach the mesh or chain-link bottom, ensuring it's securely fastened and evenly tensioned. Next, add any additional features, such as weight systems or handles, before attaching the drag to your vehicle. Throughout the process, refer to your design plans and take your time to ensure each step is completed accurately. With patience and attention to detail, assembling a homemade gravel drag is a rewarding and achievable project.
What Are the Benefits of Using a Homemade Gravel Drag?
Using a homemade gravel drag offers several benefits beyond cost savings. One of the most significant advantages is the ability to maintain your gravel surfaces more effectively. A well-designed drag can level and compact gravel with precision, creating a smooth, even surface that resists erosion and water damage. This not only improves the appearance of your property but also enhances its functionality and safety.
Another benefit is the customization potential. Unlike commercial drags, which are often one-size-fits-all, a homemade gravel drag can be tailored to your specific needs. Whether you require a smaller drag for a garden path or a larger one for a long driveway, you have the flexibility to design a tool that works perfectly for your situation. Additionally, building your own drag fosters a sense of pride and accomplishment, knowing you've created something that will benefit your property for years to come.
How Often Should You Use Your Homemade Gravel Drag?
The frequency with which you use your homemade gravel drag depends on various factors, including weather conditions, traffic volume, and the type of gravel used. In general, it's recommended to drag your gravel surfaces at least once or twice a year to maintain their appearance and functionality. However, if you experience heavy rain or snow, or if your driveway sees frequent use, you may need to drag it more often.
Regular maintenance with a homemade gravel drag helps prevent issues such as ruts, potholes, and water pooling. By addressing these problems early, you can extend the life of your gravel surface and reduce the need for costly repairs. Establishing a maintenance schedule and sticking to it will ensure your driveway or yard remains in optimal condition throughout the year.
Can You Customize a Homemade Gravel Drag for Specific Needs?
Absolute customization is one of the standout features of a homemade gravel drag. Depending on your specific requirements, you can modify the design to suit different terrains, gravel sizes, and vehicle types. For instance, if you're working with fine gravel, you might opt for a finer mesh or chain-link to prevent material loss. Conversely, if you're dealing with larger rocks, a heavier, more robust drag may be necessary.
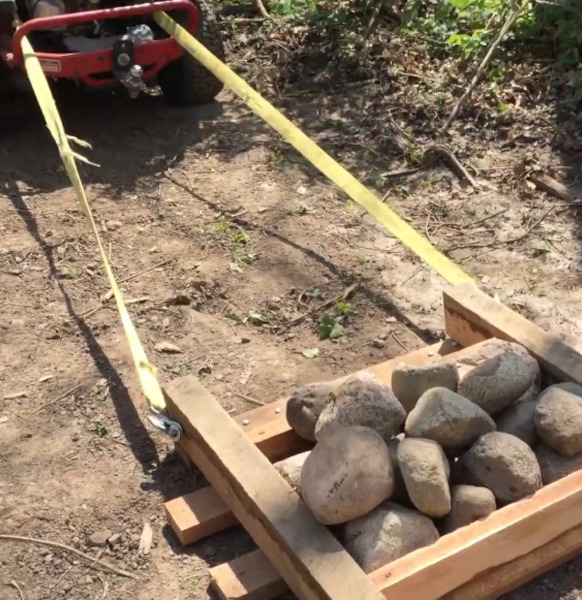
Customization options extend beyond the drag itself. You can also adjust the attachment system to accommodate different vehicles, such as tractors, ATVs, or lawn mowers. Additionally, incorporating adjustable weights or handles can enhance the drag's versatility, allowing you to tackle a variety of surfaces with ease. By tailoring your homemade gravel drag to your unique needs, you'll achieve the best possible results for your property.
Conclusion: Elevate Your Property with a Homemade Gravel Drag
In conclusion, building a homemade gravel drag is a smart investment for anyone looking to maintain their gravel surfaces effectively and affordably. By following the steps outlined in this guide and utilizing high-quality materials, you can create a durable, efficient tool that will serve you for years to come. Whether you're a seasoned DIYer or a beginner, this project offers valuable skills, insights, and satisfaction.
Remember, the key to success lies in careful planning, attention to detail, and a willingness to adapt your design to suit your specific needs. With a homemade gravel drag in your arsenal, you'll be able to keep your driveway or yard looking its best, while also enjoying the pride that comes from completing a meaningful DIY project. So, gather your materials, roll up your sleeves, and get started on transforming your property today.
Table of Contents
- What Is a Homemade Gravel Drag?
- Why Should You Build a Homemade Gravel Drag?
- How Does a Homemade Gravel Drag Work?
- Can You Build a Homemade Gravel Drag Without Welding Skills?
- What Materials Do You Need for a Homemade Gravel Drag?
- Is It Difficult to Assemble a Homemade Gravel Drag?
- What Are the Benefits of Using a Homemade Gravel Drag?
- How Often Should You Use Your Homemade Gravel Drag?
- Can You Customize a Homemade Gravel Drag for Specific Needs?
- Conclusion: Elevate Your Property with a Homemade Gravel Drag
Article Recommendations