Mastering The Art Of Do It Yourself Bahama Shutters: A Comprehensive Guide
Creating your own Bahama shutters can be a rewarding and cost-effective way to enhance your home’s exterior. If you're looking for a DIY project that boosts curb appeal and provides shade, then do it yourself Bahama shutters are an excellent choice. These versatile shutters not only add aesthetic value but also offer practical benefits such as sun control and privacy. Whether you're a seasoned DIY enthusiast or a beginner, this guide will walk you through every step of the process, ensuring you achieve professional results without breaking the bank.
As homeowners increasingly look for ways to personalize their living spaces, the popularity of DIY projects has skyrocketed. Among these, do it yourself Bahama shutters have gained significant traction due to their functionality and charm. This project is perfect for those who want to take on a hands-on approach to home improvement. With the right tools, materials, and guidance, anyone can create beautiful Bahama shutters that complement their home’s architecture and style.
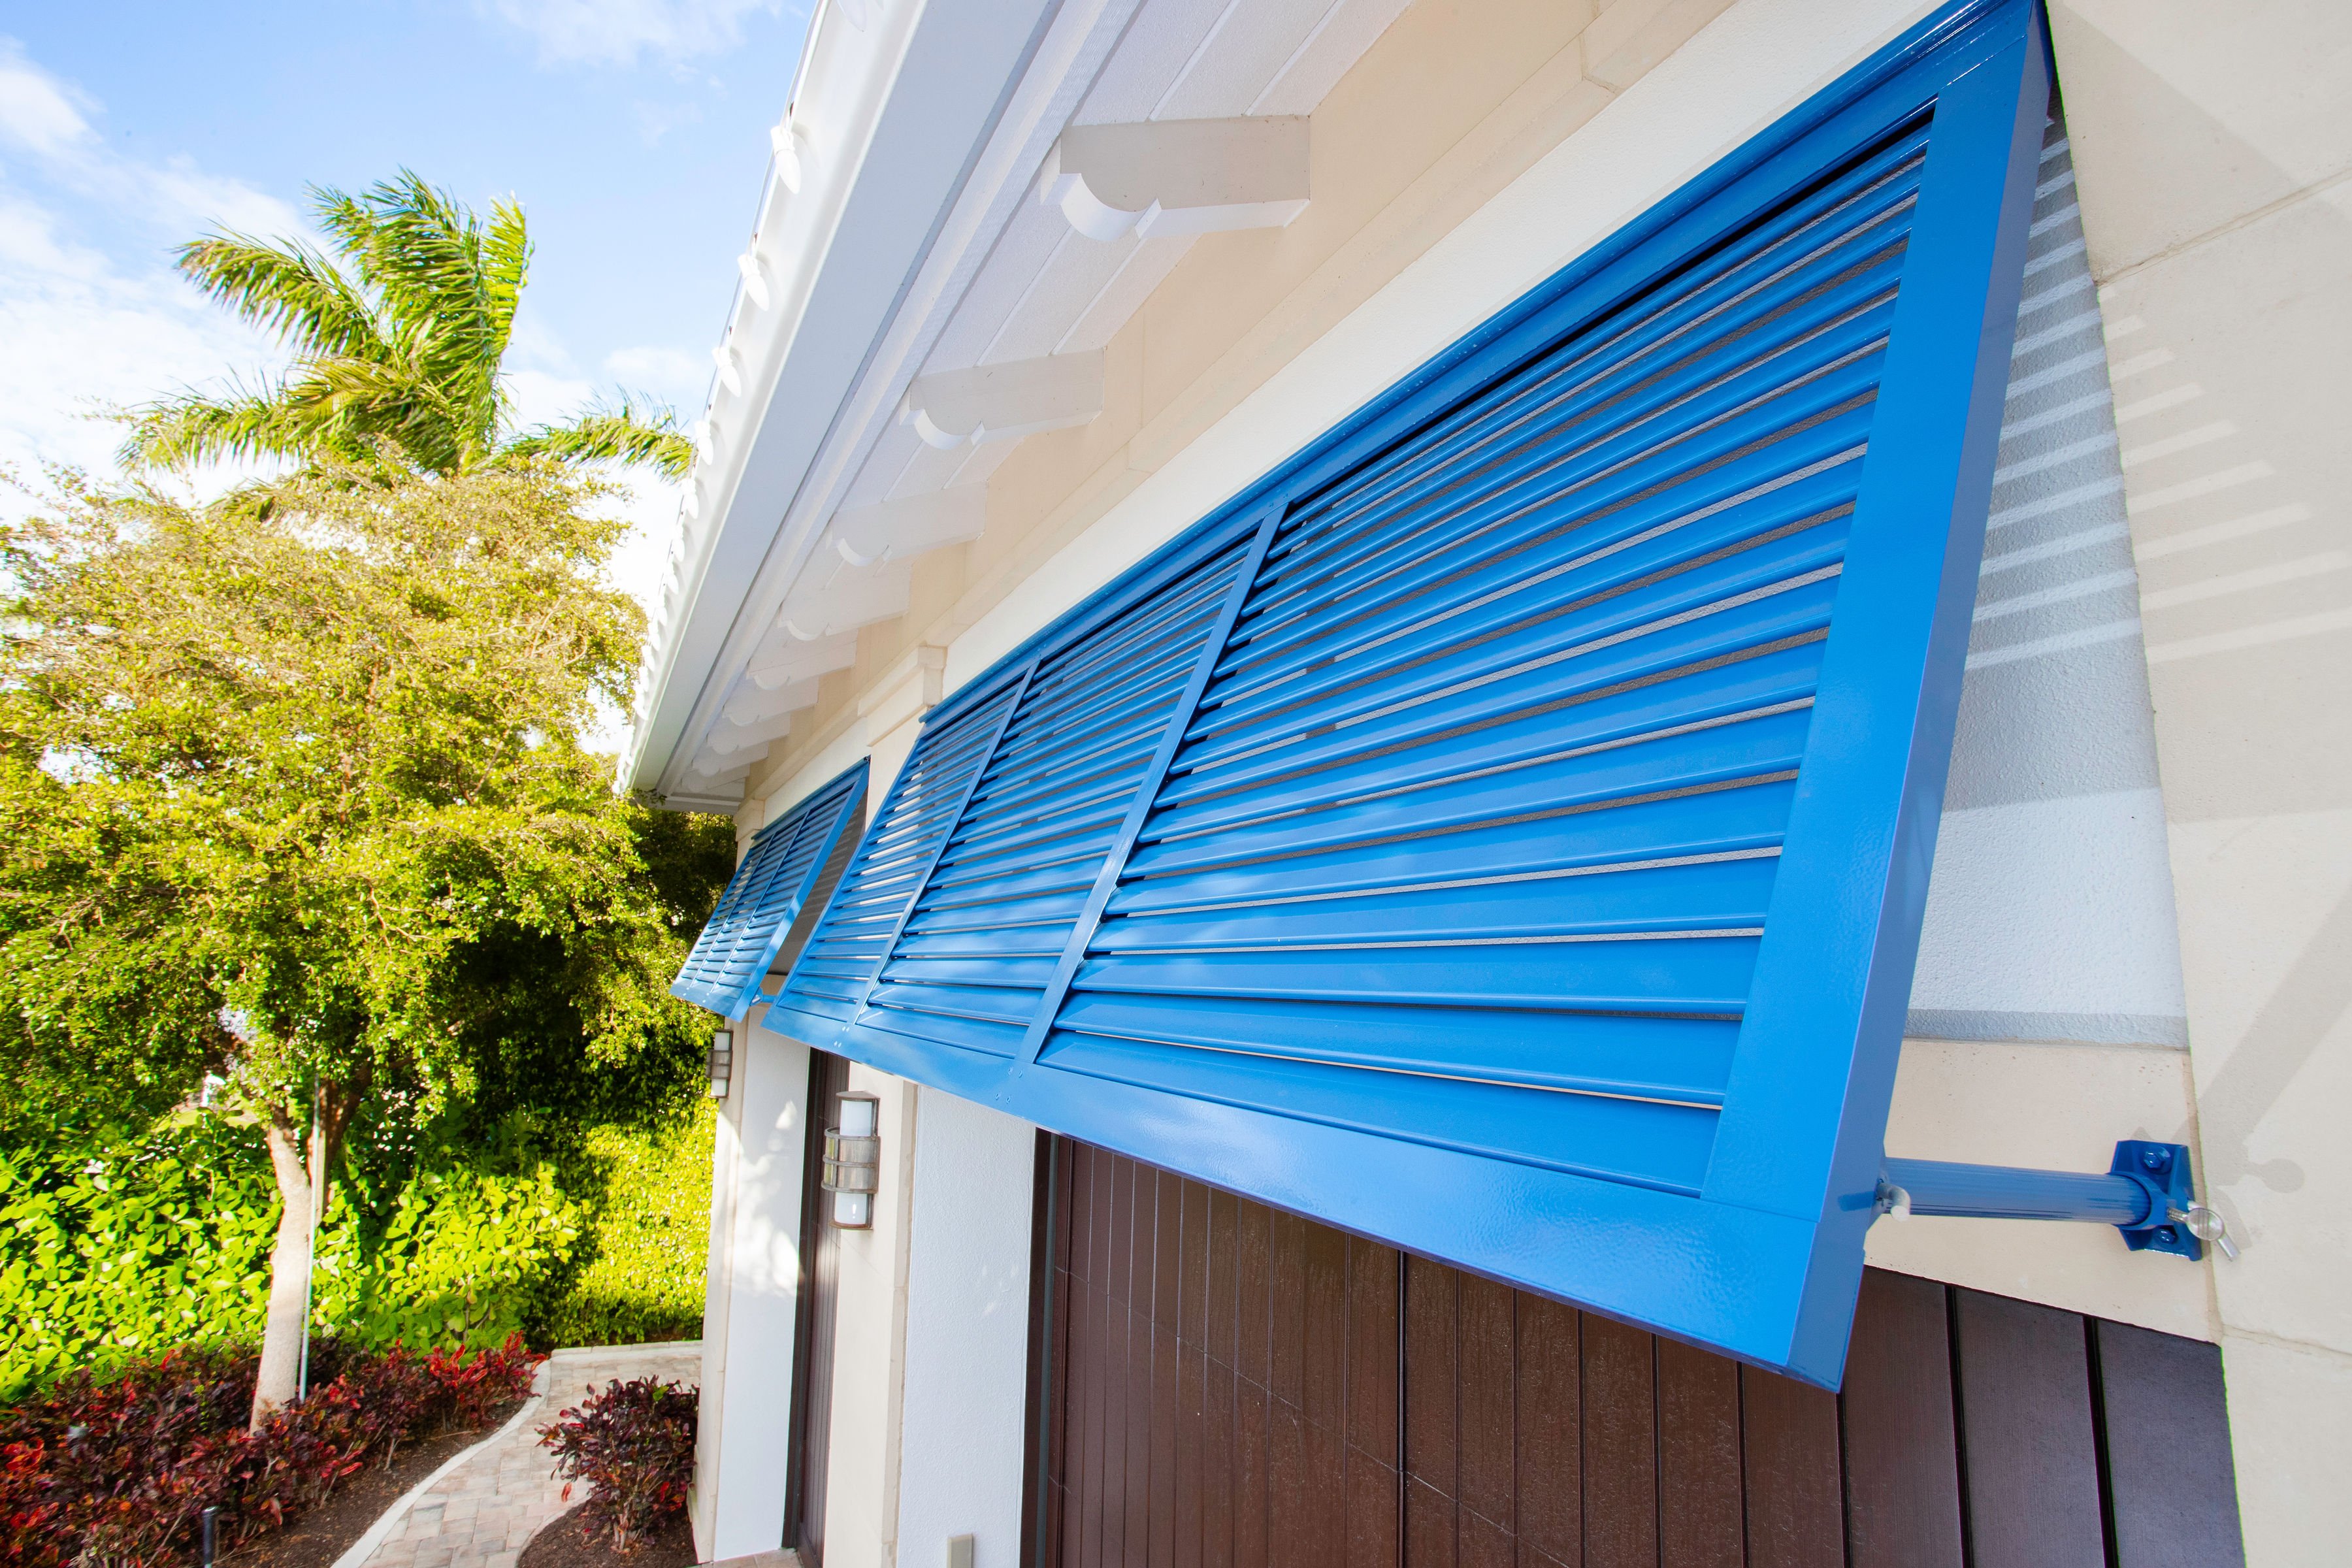
Before diving into the specifics, it's essential to understand the benefits of Bahama shutters. These louvered shutters are designed to be mounted above windows, allowing for adjustable airflow and light control. Their unique design makes them an ideal choice for hot climates, as they help keep interiors cool while still allowing natural light to filter in. By choosing to make your own Bahama shutters, you gain the flexibility to customize sizes, colors, and finishes, ensuring they perfectly match your home's exterior.
Read also:Who Is Ha Jiwons Husband A Deep Dive Into Her Life And Career
Why Should You Choose Do It Yourself Bahama Shutters?
When considering home improvement projects, cost is often a significant factor. Purchasing pre-made Bahama shutters can be expensive, especially if you’re outfitting multiple windows. By opting for do it yourself Bahama shutters, you can save money while gaining a sense of accomplishment. Additionally, customizing your shutters allows for personal touches that pre-made options may lack. This section will explore the advantages of taking on this DIY project, including cost savings, customization options, and the satisfaction of completing a hands-on task.
How Can You Prepare for a Successful DIY Project?
Preparation is key to any successful DIY endeavor. Before beginning your Bahama shutter project, gather all necessary tools and materials. This includes measuring tape, a saw, sandpaper, wood stain or paint, and hardware for installation. It's also important to measure your windows accurately to ensure the shutters will fit properly. Taking the time to plan and prepare will save you headaches later on and help ensure a smooth installation process.
What Are the Essential Materials for Do It Yourself Bahama Shutters?
Choosing the right materials is crucial for creating durable and attractive Bahama shutters. Cedar wood is a popular choice due to its natural resistance to weathering and insects. Other options include pine or composite materials, depending on your budget and aesthetic preferences. Regardless of the material you choose, ensure it is treated to withstand outdoor conditions. Below is a list of essential materials you’ll need:
- Cedar or pine wood planks
- Wood screws
- Hinges and latches
- Wood stain or paint
- Sandpaper or orbital sander
Can You Install Bahama Shutters Without Professional Help?
Many homeowners worry about the complexity of installing Bahama shutters, but with the right guidance, it’s entirely possible to complete the project on your own. Proper installation ensures that your shutters function correctly and remain secure during inclement weather. This section will provide step-by-step instructions for mounting your Bahama shutters, including tips for achieving a professional finish.
What Steps Are Involved in Making Do It Yourself Bahama Shutters?
Creating Bahama shutters involves several key steps, each requiring attention to detail. Start by cutting the wood to the appropriate dimensions, ensuring all pieces fit together seamlessly. Next, assemble the frame and attach the louvered slats. Sand the surface to smooth out any rough edges, then apply a finish of your choice. Finally, install the hinges and hardware, making sure everything is securely attached. Each step is detailed below to guide you through the process:
- Cut the wood according to measurements.
- Assemble the frame and attach the slats.
- Sand and finish the shutters.
- Install hardware and mount the shutters.
How Can You Customize Your Bahama Shutters?
One of the greatest advantages of making your own Bahama shutters is the ability to customize them. From choosing the wood type to selecting the finish, you have endless possibilities to make your shutters unique. Consider experimenting with different paint colors or stains to match your home’s exterior. You can also add decorative elements, such as carved patterns or ornamental hinges, to give your shutters a distinctive look.
Read also:Ross Gerber Net Worth A Comprehensive Look At The Entrepreneur And Investors Wealth
What Are the Maintenance Requirements for Bahama Shutters?
Proper maintenance ensures that your Bahama shutters remain functional and attractive for years to come. Regular cleaning and occasional refinishing are essential to protect the wood from weather damage. This section will cover maintenance tips, including how to clean the shutters, inspect for wear and tear, and apply protective coatings as needed.
Where Can You Find Inspiration for Do It Yourself Bahama Shutters?
Before starting your project, gather inspiration from online resources, home improvement stores, and neighbors who have installed Bahama shutters. Pinterest and home design blogs are excellent places to find creative ideas and practical advice. Take note of color schemes, finishes, and design elements that appeal to you, and incorporate them into your own project.
Is It Worth the Effort to Make Your Own Bahama Shutters?
Undertaking a DIY project like making Bahama shutters requires time and effort, but the rewards are well worth it. Not only do you save money, but you also gain valuable skills and the pride of creating something with your own hands. For those who enjoy hands-on projects and want to enhance their home’s appearance, do it yourself Bahama shutters are an excellent investment.
Conclusion: Embrace the Satisfaction of Creating Your Own Bahama Shutters
Do it yourself Bahama shutters offer a fantastic opportunity to improve your home’s appearance while gaining valuable DIY experience. By following the steps outlined in this guide, you can create beautiful, functional shutters that enhance your living space. Remember to take your time, prepare thoroughly, and enjoy the process. With dedication and effort, you’ll achieve results that bring both aesthetic and practical benefits to your home.
Table of Contents
- Why Should You Choose Do It Yourself Bahama Shutters?
- How Can You Prepare for a Successful DIY Project?
- What Are the Essential Materials for Do It Yourself Bahama Shutters?
- Can You Install Bahama Shutters Without Professional Help?
- What Steps Are Involved in Making Do It Yourself Bahama Shutters?
- How Can You Customize Your Bahama Shutters?
- What Are the Maintenance Requirements for Bahama Shutters?
- Where Can You Find Inspiration for Do It Yourself Bahama Shutters?
- Is It Worth the Effort to Make Your Own Bahama Shutters?
- Conclusion: Embrace the Satisfaction of Creating Your Own Bahama Shutters
Article Recommendations