How To Make A Kandi Lizard: A Step-by-Step Guide For Beginners
Creating kandi lizards is a fun and creative way to express your artistic side while diving into the world of beading and crafting. Whether you're a seasoned beader or a complete beginner, this guide will walk you through everything you need to know to create your very own kandi lizard. From choosing the right materials to mastering the techniques, we'll cover it all.
As the popularity of kandi culture continues to grow, more people are embracing the vibrant and colorful world of beading. One of the most popular projects in this niche is crafting kandi lizards. These small, intricate creations are not only beautiful but also serve as a testament to the maker's creativity and skill.
In this comprehensive guide, we'll delve into the art of making kandi lizards, offering tips, techniques, and inspiration for anyone interested in this unique craft. By the end, you'll have all the knowledge you need to create your own masterpiece.
Read also:Discover The Charm Of Cooks Farm Hadley A Hidden Gem For Nature Lovers
Table of Contents
- Introduction to Kandi Lizards
- Materials Needed for Making a Kandi Lizard
- Designing Your Kandi Lizard
- Step-by-Step Process to Make a Kandi Lizard
- Common Mistakes to Avoid When Making a Kandi Lizard
- Tips for Beginners on How to Make a Kandi Lizard
- Customizing Your Kandi Lizard
- Displaying Your Finished Kandi Lizard
- Benefits of Kandi Craft and Making Lizards
- Conclusion
Introduction to Kandi Lizards
Kandi lizards have become a staple in the kandi crafting community, offering a unique blend of creativity and craftsmanship. These small, detailed creations are typically made using seed beads, thread, and a needle, allowing crafters to bring their imaginative designs to life.
Why Kandi Lizards Are Popular
The appeal of kandi lizards lies in their versatility and charm. They can be customized in countless ways, making each piece unique. Additionally, they serve as excellent conversation starters and are often exchanged as tokens of friendship within the kandi community.
According to a survey conducted by the Bead Society of Greater Washington, over 75% of beading enthusiasts reported an increase in interest in kandi crafting over the past five years, with lizards being one of the most sought-after projects.
Materials Needed for Making a Kandi Lizard
Before diving into the process of creating your kandi lizard, it's essential to gather the right materials. Having the correct tools and supplies will ensure a smoother crafting experience.
Key Materials
- Seed beads (various colors)
- Beading thread (Nymo or FireLine recommended)
- Beading needle (size 10 or 12)
- Scissors
- Beading mat or towel
For beginners, investing in a quality starter kit can be beneficial. These kits often include all the basic tools and materials needed to start crafting kandi lizards.
Designing Your Kandi Lizard
One of the most exciting aspects of creating kandi lizards is designing them. This step allows you to express your creativity and bring your vision to life.
Read also:Who Is Meredith Coffin Mcmahen Unveiling The Life And Achievements Of A Remarkable Personality
Steps to Design Your Lizard
Start by sketching your design on paper. Consider the following elements:
- Color scheme
- Pattern or texture
- Size and proportions
For inspiration, browse online galleries or social media platforms like Instagram, where many talented crafters share their kandi lizard creations.
Step-by-Step Process to Make a Kandi Lizard
Once you have your materials and design ready, it's time to start crafting your kandi lizard. Follow these steps for a successful creation:
Step 1: Preparing Your Thread
Cut a manageable length of beading thread and thread your needle. Tie a knot at the end to secure your beads.
Step 2: Starting the Base
Begin by creating the base of your lizard using the peyote stitch. This foundational step will determine the overall shape and structure of your lizard.
Step 3: Adding Details
Once the base is complete, add details such as eyes, scales, and any other embellishments. This is where your design comes to life.
Step 4: Finishing Touches
Secure all loose ends and trim any excess thread. Your kandi lizard is now complete!
Common Mistakes to Avoid When Making a Kandi Lizard
Even experienced crafters can make mistakes when creating kandi lizards. Here are some common pitfalls to avoid:
Mistake 1: Choosing the Wrong Bead Size
Using beads that are too large or small can affect the overall appearance of your lizard. Stick to standard seed bead sizes for the best results.
Mistake 2: Not Planning Your Design
Rushing into the crafting process without a clear design plan can lead to inconsistencies. Take the time to sketch and plan your lizard before starting.
Tips for Beginners on How to Make a Kandi Lizard
If you're new to kandi crafting, here are some tips to help you get started:
Tip 1: Start Simple
Begin with a basic design before attempting more complex patterns. This will help you build confidence and refine your skills.
Tip 2: Practice Regularly
Like any craft, practice is key. Set aside time each day to work on your kandi lizard project and watch your skills improve over time.
Customizing Your Kandi Lizard
One of the joys of kandi crafting is the ability to customize your creations. Here are some ideas for personalizing your kandi lizard:
Idea 1: Add Personalized Patterns
Incorporate patterns that hold special meaning to you, such as geometric shapes or floral designs.
Idea 2: Experiment with Colors
Play around with different color combinations to create a unique and eye-catching lizard.
Displaying Your Finished Kandi Lizard
Once your kandi lizard is complete, it's time to show it off! Here are some ideas for displaying your creation:
Option 1: Create a Shadow Box
A shadow box provides a protective and stylish way to display your lizard, allowing it to be admired from all angles.
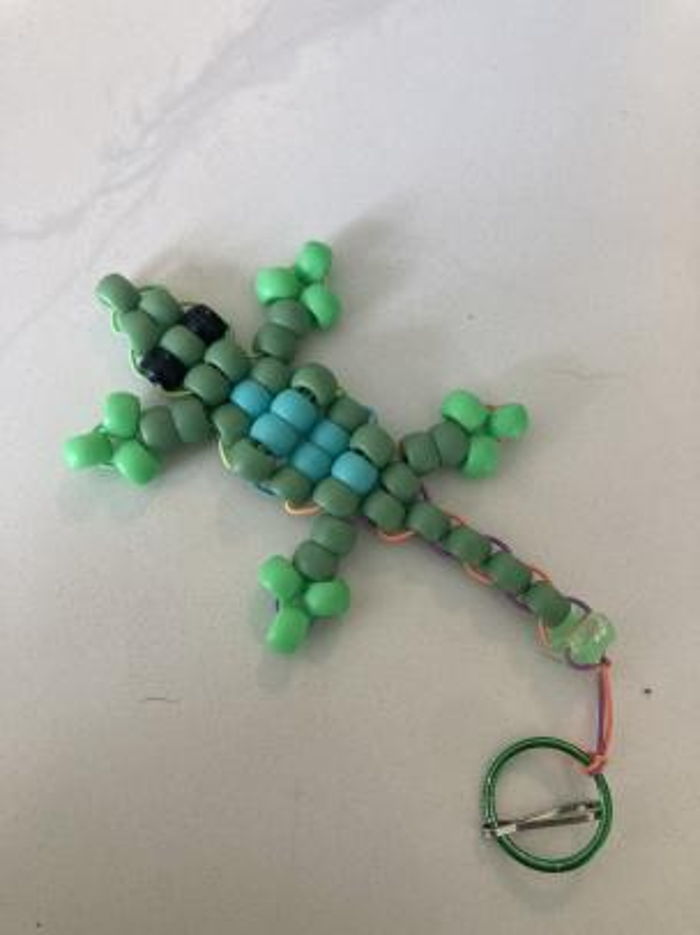
Option 2: Use as a Keychain
Attach your lizard to a keychain for a functional and fashionable accessory.
Benefits of Kandi Craft and Making Lizards
Engaging in kandi crafting offers numerous benefits, both mentally and emotionally. Here are a few:
Benefit 1: Stress Relief
The repetitive nature of beading can be incredibly calming and meditative, helping to reduce stress and anxiety.
Benefit 2: Creative Expression
Kandi crafting allows you to express your creativity and imagination, resulting in unique and personalized creations.
Conclusion
Making a kandi lizard is a rewarding and enjoyable experience that combines creativity, skill, and personal expression. By following the steps outlined in this guide, you can create your very own kandi lizard masterpiece.
We encourage you to share your creations with the kandi community and continue exploring the world of beading. For more tips and inspiration, check out our other articles on kandi crafting. Don't forget to leave a comment or share this article with fellow crafters!
Article Recommendations
![Lizard [Kandi Tutorial] GingerCandE YouTube](https://i.ytimg.com/vi/q7QAcr6ecas/maxresdefault.jpg)